Rooting an Android Virtual Device with Google Services + Play Store
Want a rooted Android Virtual Device (AVD) with Google Services & Play Store? This step-by-step guide covers everything—from setting up an AVD to installing Magisk and gaining root access. Perfect for security testing and app development!


I've been diving deeper into Android Security lately, and as my daytime job as an Application Security Engineer required it, I needed a rooted device for testing. However, it was crucial to have Google Services and the Play Store available for the application being tested to function properly.
So today, we have our first Android Security blog post! I plan to make this a series, similar to the Root Access Series that you can find here.
I won’t take any more of your time, so let’s get straight to the tutorial you’re here for.
Creating the Android Virtual Device (AVD)
Make sure you have the latest version of Android Studio installed on your computer. It’s a fairly simple process—just head to Android Studio and download it.
During installation, ensure that you also install the SDK tools.
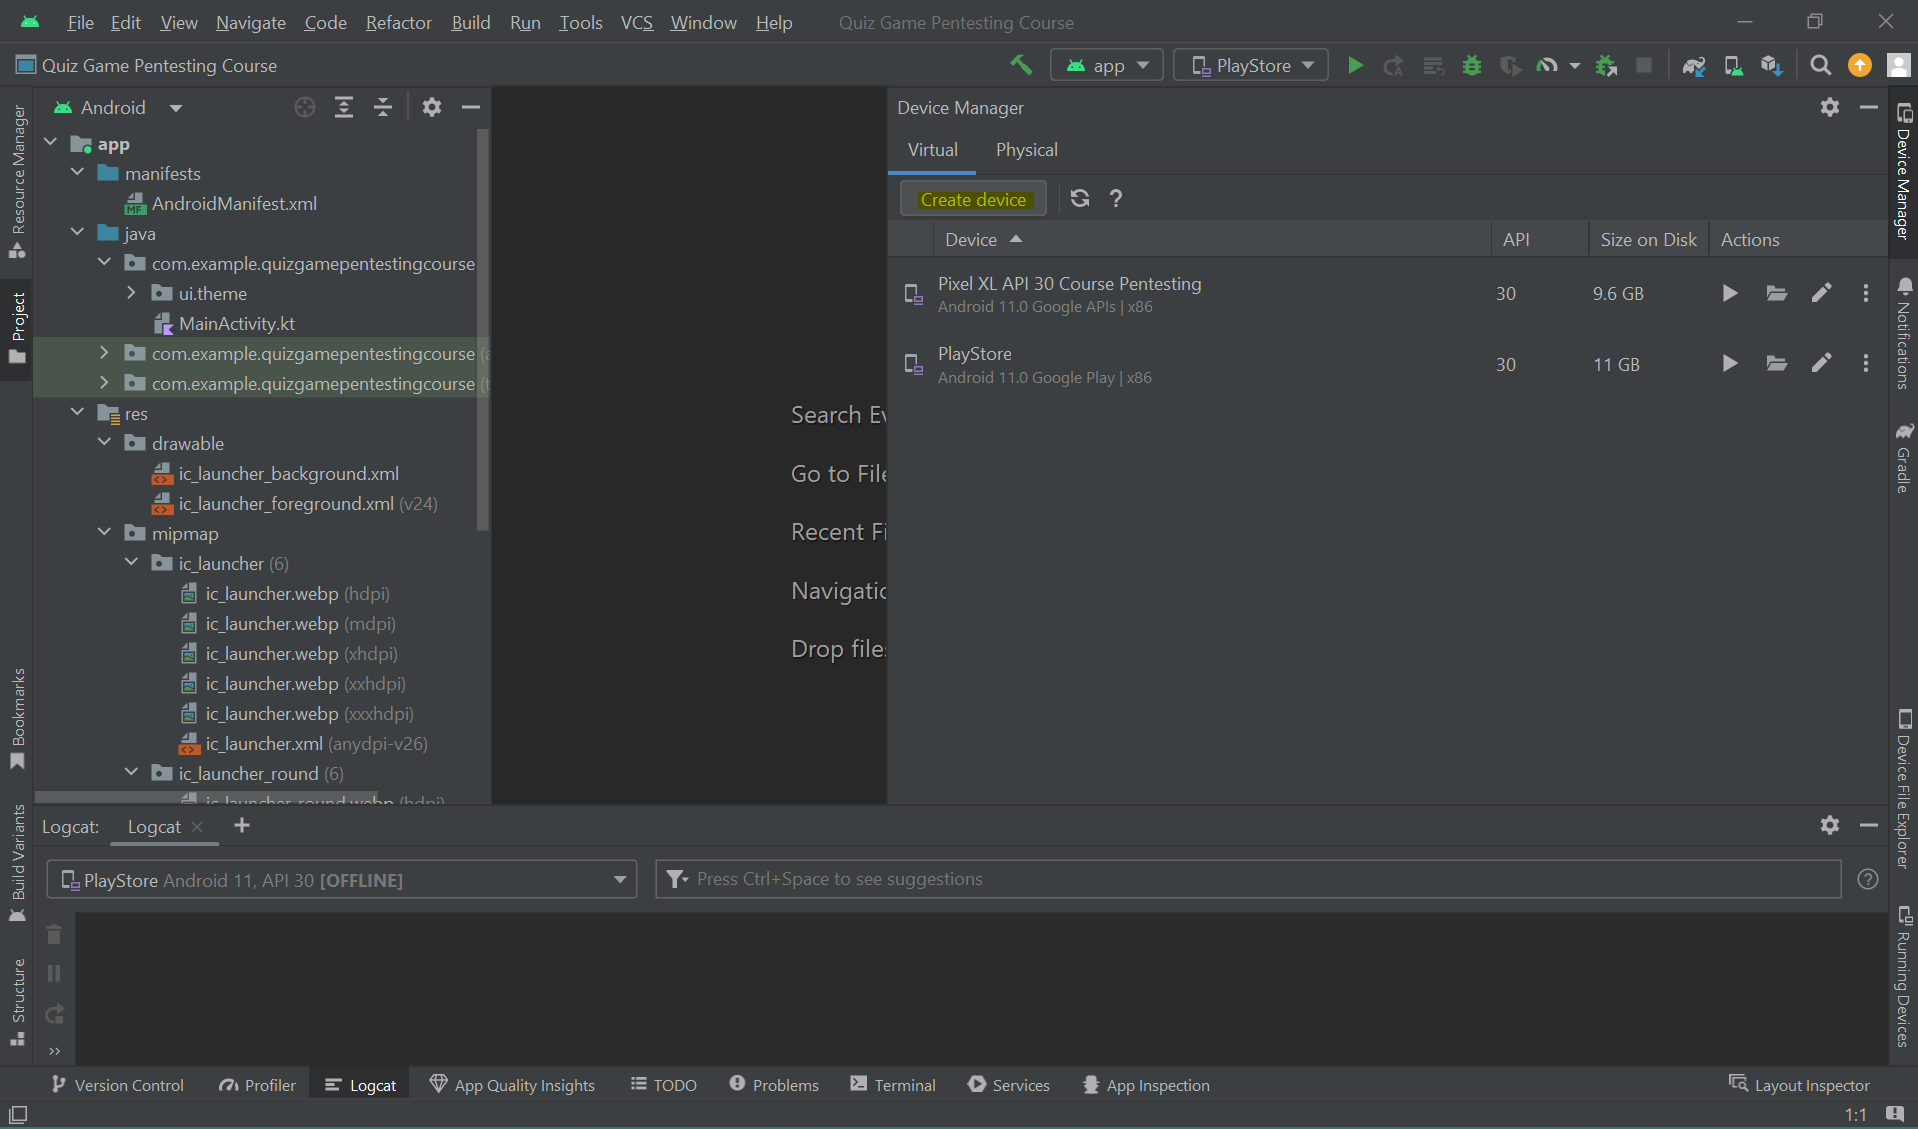
- Open Android Studio and navigate to the Virtual Device Manager.
- Create a new virtual device.
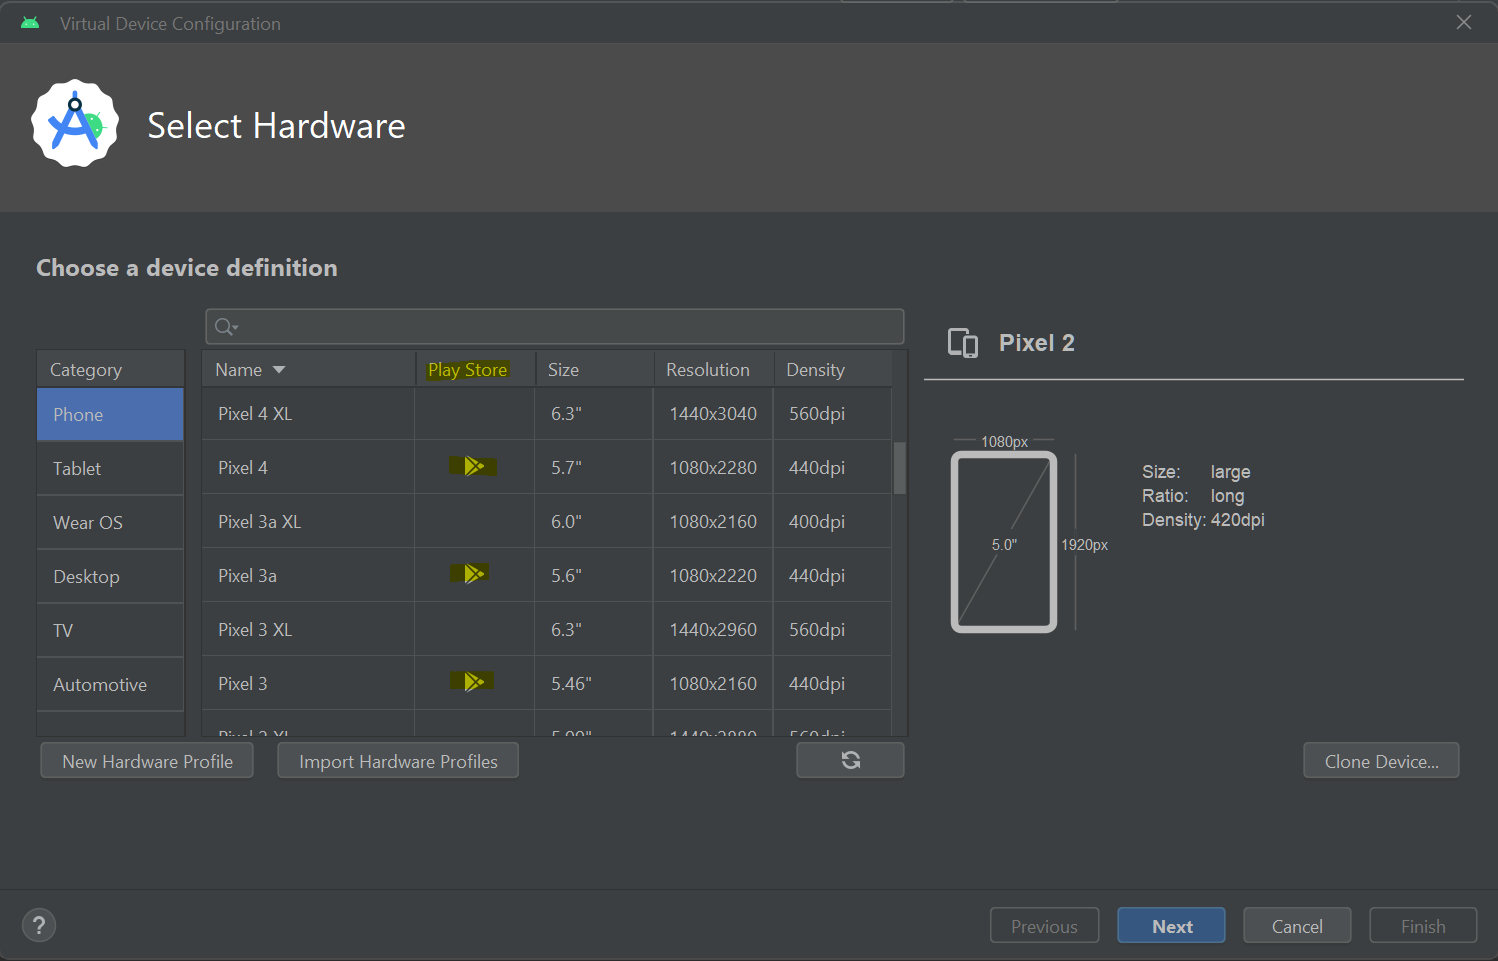
- When choosing the Hardware, select one with the Play Store icon on it. The ones that don't have it available, won't have the Play Store pre-installed on your emulated device.
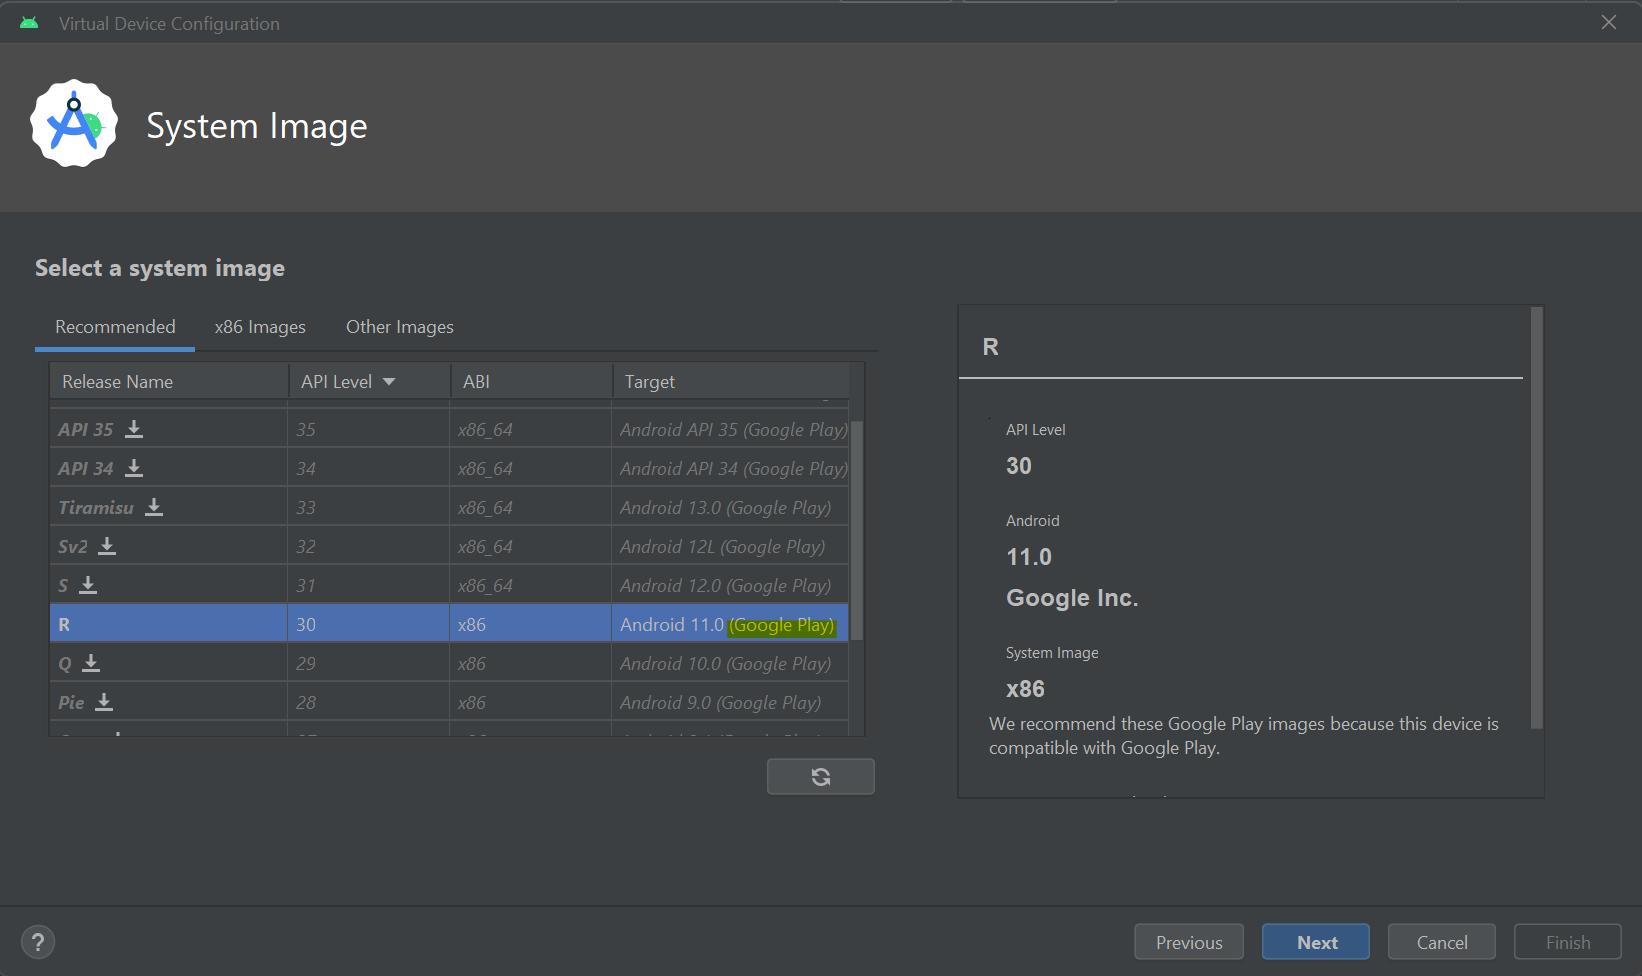
- Next you need to select the system image, select any that includes Google Services.
Installing the Rooting tool
Now that you have an AVD set up, go ahead and start it.
- While the emulated device is booting for the first time, clone the necessary repository to your local machine by running the following command on the terminal:
PS oriana.olivetti> git clone https://gitlab.com/newbit/rootAVD.git
- Once rootAVD is installed locally, navigate into its folder and list the available AVD images for rooting. I’m using Windows for this example, but the tool also works on macOS and Linux. Be sure to check the README.md file in the repository for OS-specific instructions.
PS oriana.olivetti> dir rootAVD
PS oriana.olivetti> .\rootAVD.bat ListAllAVDs
- Once you figured out the system image you want to root, execute:
PS oriana.olivetti> .\rootAVD.bat <systemimage\ramdisk.img>
- You’ll see some text output in your console, and once the process is complete, your AVD will automatically restart. If it doesn't, restart it manually.
Getting Root on your Android Virtual Device (AVD)
Now that your AVD has restarted, run it again and check the menu. You should see a newly installed application called Magisk.

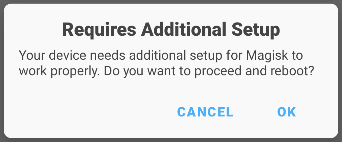
- Open Magisk, and it will prompt you to complete the setup process. Click OK to proceed and wait the reboot to finish.
- Once Magisk is fully set up, open a terminal on you computer and execute
adb shell. This opens a connection to your AVD. Next executesuto switch to the root user. You'll get access denied because root is blocked by default.
PS oriana.olivetti> adb shell

generic_x86_arm:/ $ su
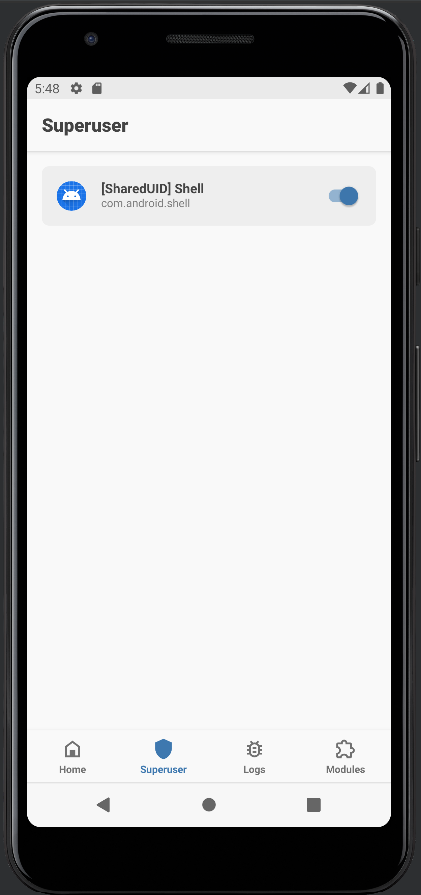
Permission denied- Open Magisk again and navigate to the Superuser tab and enable it by clicking on the toggle.
That's it! To make sure this whole process worked, open a new console and execute step 2 again. You should see a different result this time. You can also execute whoami to make sure you got yourself the root user.
PS oriana.olivetti> adb shell

generic_x86_arm:/ $ su

generic_x86_arm:/ # whoami

root

generic_x86_arm:/ #
Conclusion
Congratulations! You now have a rooted Android device with Google Services and the Play Store fully functional. Feel free to explore, experiment, and test your applications with root access.
Happy hacking, and see you next time!